
Why Prep Work Decides How Long Your Paint Job Lasts
Discover how surface prep, primers, and proper technique extend life, plus practical checks for Toronto homes. Verify local requirements before you proceed.
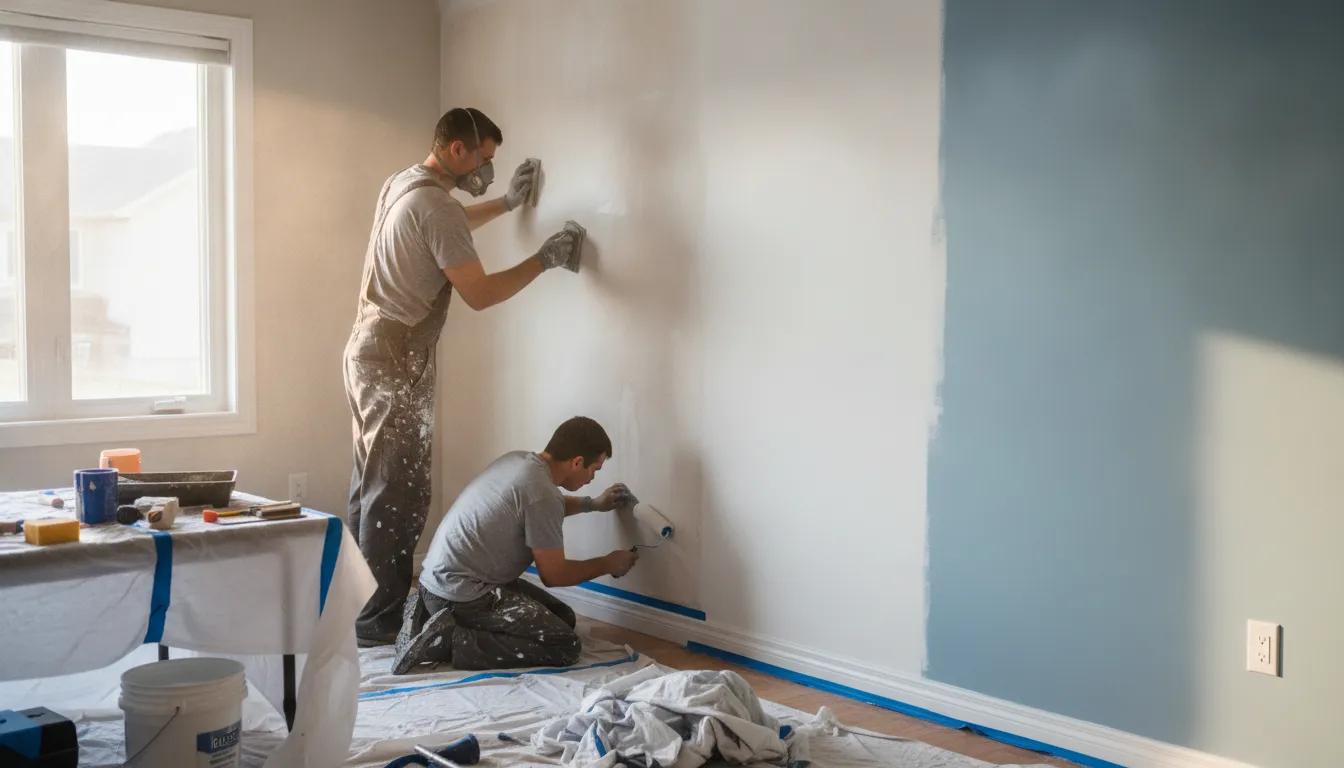
How does prep work affect the lifespan of paint on a home in Toronto?
Prep sets the foundation for durability: proper cleaning, rust and stain blocking, and surface sealing prevent failures like peeling, blistering, and premature wear. In Toronto and the surrounding County of York, climate swings—from hot, humid summers to freezing winters—exert stress on coatings. The right prep reduces moisture ingress, improves adhesion, and ensures the finish lasts longer under daily wear.
Adhesion starts with clean, stable surfaces
Paint sticks best to surfaces free of dirt, oils, and old coatings. Thorough cleaning with a degreaser, followed by a light etch on glossy areas, gives the primer a solid bite and minimizes failure at the edge of old paint.
Primers aren’t optional in tough environments
In Toronto’s climate, primers tailor surface properties: blocking stains, sealing porous wood, and improving hide. A quality bonding primer on bare wood or repaired areas reduces soaking and helps the topcoat resist peeling.
Proper sealing of edges and transitions
Wraps, corners, and trim joints are stress points. Using caulk or gasket sealants compatible with the coating system keeps moisture out, which helps paint last longer on busy architectural joints.
Surface repair before paint is non-negotiable
Filling cracks, repairing rot, and sanding rough patches create a uniform substrate. Skipping this invites crack propagation under freeze-thaw cycles and leads to early touch-ups rather than lasting protection.
Step-by-Step: Why Prep Work Decides How Long Your Paint Job Lasts
Follow these practical steps to ensure prep work supports long-lasting results in Toronto’s mixed climate and city conditions.
- 1
Assess the existing system
Inspect for blistering, peeling, or moisture damage. Determine whether you’re dealing with surface failures or substrate issues so you target the right repairs.
- 2
Clean and decontaminate
Wash with a mild detergent solution, rinse thoroughly, and remove mildew with a fungicidal cleaner if needed. Allow surfaces to dry completely before any coating steps.
- 3
Eliminate defects and repair
Fill cracks, replace damaged wood, and sand to a uniform profile. Repairing at this stage avoids later topcoat failures and reduces the chance of early rework.
- 4
Prime and seal appropriately
Choose primers suited to the surface and climate. Apply sealant to joints, ensure edge bonding, and let primers cure as recommended by the manufacturer.
- 5
Apply finish coats correctly
Use compatible systems (primer, sealer, topcoat) and follow dry times. In Toronto’s humidity, avoid applying finishes in heat or rush conditions that trap moisture.
- 6
Final inspection and cure
Check for uniform film thickness, no pinholes, and proper edge coverage. Allow full cure before normal use, and address any touch-ups after the first wash cycle.
Mistakes to Avoid
Even small missteps in prep can cut paint life significantly. Here are common errors and how to steer clear of them.
Rushing over dirty or damp surfaces
Moisture and grime reduce adhesion. This leads to early peeling, especially on exterior surfaces exposed to rain and humidity.
Skipping repairs on damaged substrates
Hidden rot or cracks act like channels for moisture. If you skip these repairs, you’ll likely see faster paint failure and higher maintenance costs.
Using the wrong primer for the job
A mismatched primer can fail to block stains or to bond properly, leading to unsightly edges and premature wear.
Not allowing proper cure times
Rushing topcoats over inadequately cured primers traps solvents and moisture, causing solvent pop or blistering later on.
What Affects Your Outcome
A mix of climate, substrate, and workmanship determines how long prep pays off.
Climate and seasonality
Toronto’s seasonal shifts—from warm summers to cold winters—test coatings. Timing paint jobs for dry periods reduces moisture-related failures.
Surface condition and repairs
The substrate determines how well coatings adhere. Clean, repaired, and smooth surfaces hold paint longer.
Product selection and compatibility
Using a matching system (primer, sealer, topcoat) and following manufacturer guidance improves durability.
Application technique
Even film thickness, proper weather conditions, and tool quality influence wear resistance.
Moisture management
Address leaks, condensation, and poor drainage before painting to prevent moisture-driven failures.
Contractor coordination and documentation
Clear scope, proper prep, and documented warranty expectations reduce disputes and ensure consistent results.
Free Prep-Assessment for Your Toronto Project
We offer a no-pressure inspection to review surface condition, repairs, and primer/topcoat choices for durable results.
Get a Free Quote